+86-791-8686-1216


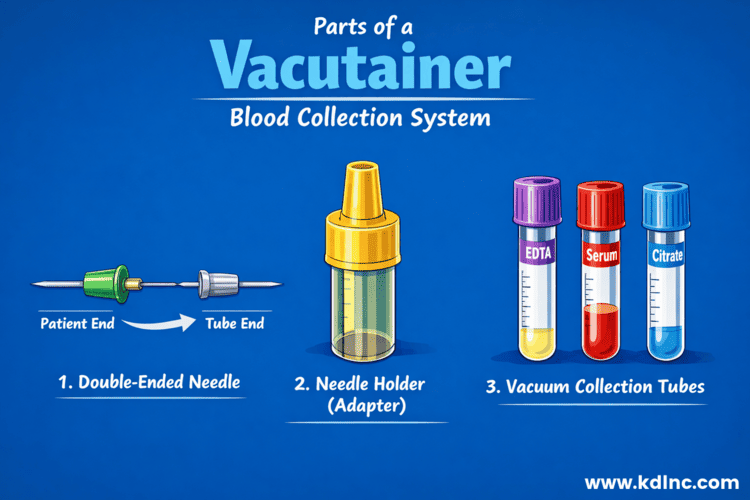
Winged infusion butterfly needles are essential medical devices widely used in blood collection, intravenous therapy, and diagnostic procedures. Their unique design, which includes flexible wings and thin needles, allows healthcare professionals to perform venipuncture procedures with improved control and precision.
The quality of medical devices directly impacts patient safety, procedural efficiency, and regulatory compliance. For hospitals, distributors, clinics, and healthcare procurement managers, choosing a reliable wing type blood collecting butterfly needle manufacturer is extremely important. In this guide, we will explain the key factors healthcare buyers should consider when choosing a reliable winged infusion butterfly needle manufacturer.
What is a Winged Infusion Butterfly Needles?
Before researching manufacturers, learn about what is wings infusion butterfly needles and why its quality matters.
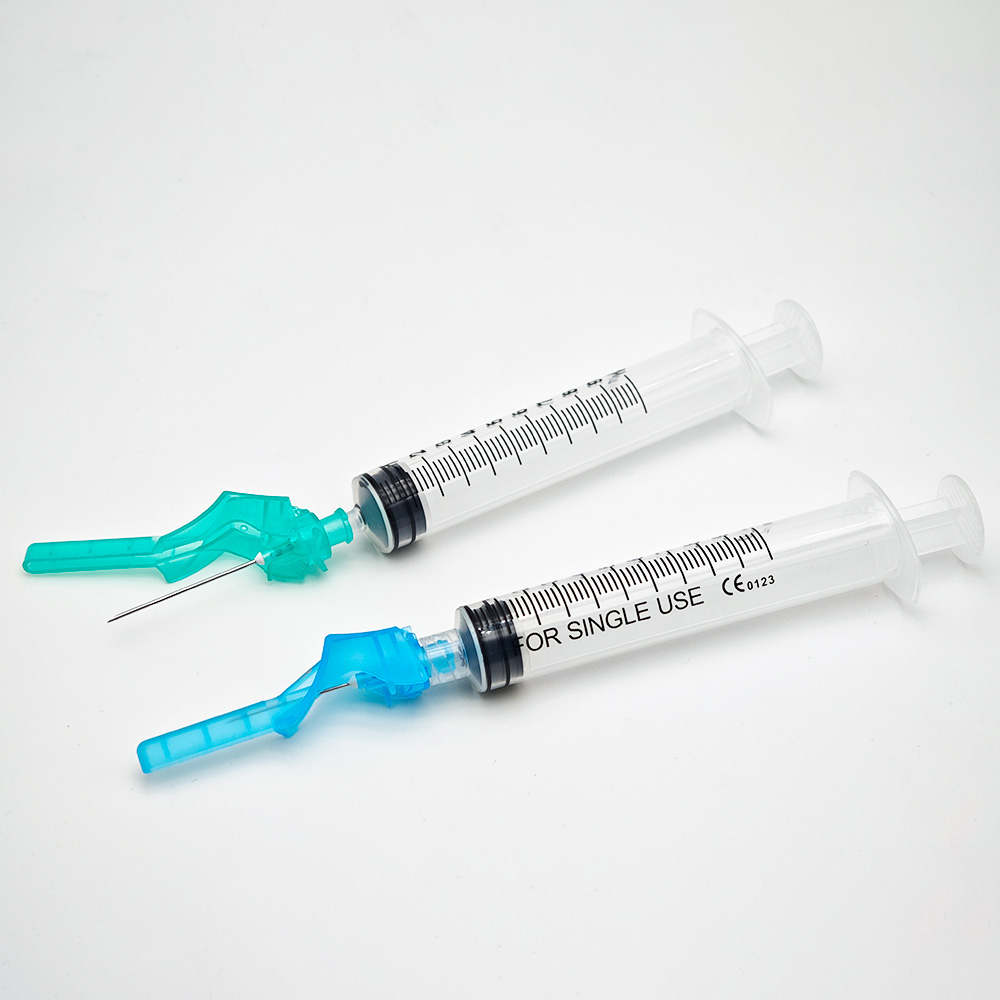
A winged infusion butterfly needle is a tiny, thin needle with plastic “wings” on both sides. These wings assist healthcare workers keep the needle steady when they put it in, which lowers the chance of making the patient uncomfortable or damaging the vein. A flexible tube and a syringe or blood collection device normally attach to the needle.
These needles are used for
- Blood draws (venipuncture)
- IV therapy
- Administering medications
- Pediatric and geriatric care
Since they are designed for precision, even minor manufacturing defects can cause leakage, bending, or patient pain. That’s why picking a trustworthy manufacturer is essential.
Why Choosing the Right Manufacturer Matters
Not all winged infusion butterfly needle manufacturers are created equal.
Selecting a poor-quality supplier can lead to
- Needle defects – Broken or dull needles
- Safety concerns – contamination and needle-stick accidents
- Regulatory problems – Noncompliant devices may breach health regulations
- Higher Cost – Regular replacements and product recalls increase expenses.
A reliable manufacturer ensures that you receive needles that meet safety standards, have consistent quality, and provide comfort to patients.
Key Factors to Consider When Choosing a Manufacturer
Here are the most important factors to look for when choosing a winged infusion butterfly needle manufacturer.
1. Regulatory compliance and certifications
Safety is a major concern for healthcare devices. Make sure the following are met by your manufacturer:
- ISO 13485 : The international standard for managing the quality of medical devices.
- CE marking : Required for medical devices sold in the European Union.
- FDA registration : In the U.S., FDA registration makes sure that the products can be used for medical purposes.
Making sure the manufacturer meets high standards for product quality and safety by looking for certifications is a good idea.
2. Product Quality and Materials
Needle and tubing quality is essential. Think about :
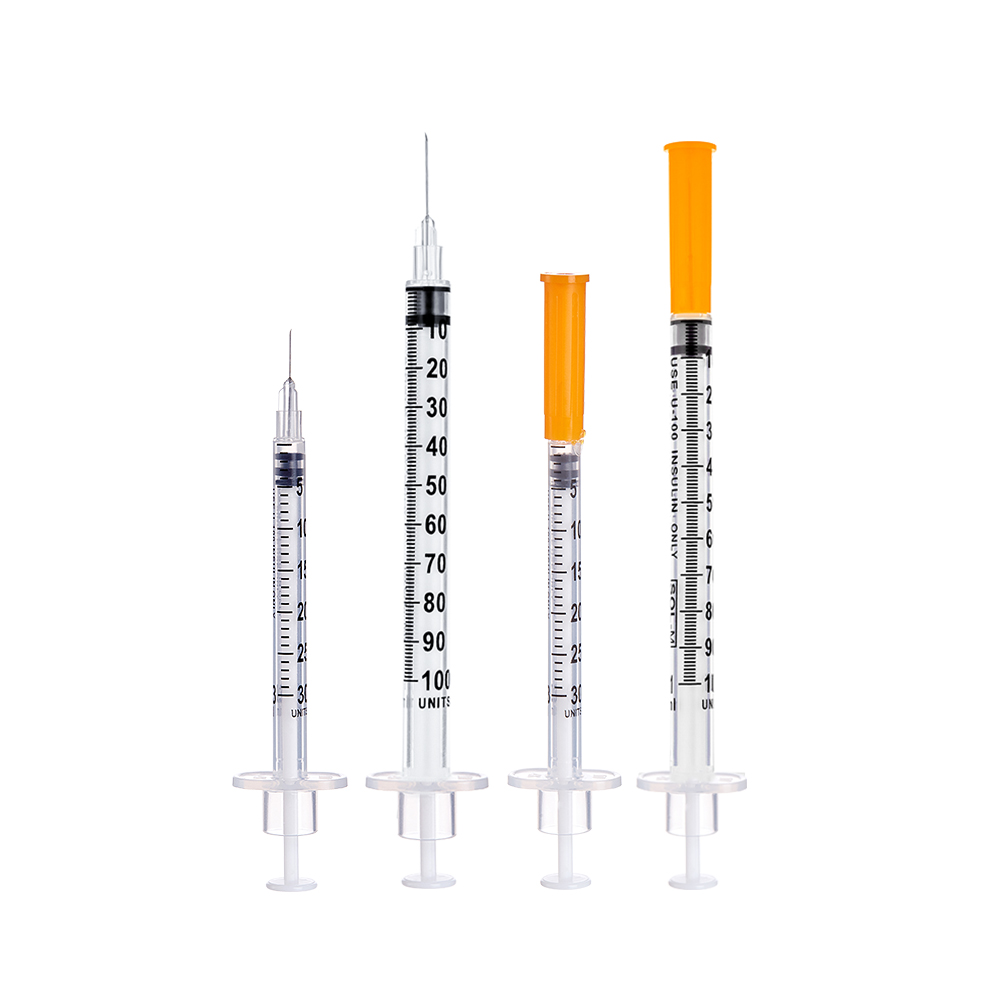
A sharper needle minimizes patient pain and vein damage. Butterfly needles typically range from 18G to 27G.
- Flexible wings enhance handling and minimize slipping.
- Tubing must be flexible, strong, and kink-resistant.
- Use biocompatible materials to prevent allergic reactions from plastics and metals.
Manufacturers offering clear product specifications and material transparency tend to be more trustworthy.
Learn More About : What Is a 21 Gauge Butterfly Needle? A Complete Guide
3. Production Capabilities
Reliable manufacturers must possess the ability to generate substantial quantities without compromising on quality. Inquire regarding:
- Production capacity – Are they able to consistently fulfill your supply requirements?
- Automation and technology – Automated processes minimize errors and ensure consistent needle quality through the use of technology.
- Quality control processes – Verify whether inspections are conducted during and after production.
A manufacturer using advanced technology and implementing rigorous quality controls is less likely to produce defective needles.
Looking for reliable butterfly needles for your clinic or lab?
Check out our Wing Type Blood-Collecting Needle (Single Wing / Double Wing) for safe, efficient blood collection.
View Product Details4. Review and Reputation
Finding out how well-known the manufacturer is can save you a lot of trouble in the future. Think about:
- Customer testimonials – Customer reviews are comments from pharmacies, hospitals, or wholesalers.
- Awards or honors from the industry – Shows dependability and qualit
- Market longevity – Companies that have been around for a while tend to have better processes.
You can also ask for references to find out if other doctors are happy with the products the manufacturer makes.
5. Features for safety
Many modern butterfly needles have safety features that keep you from accidentally sticking yourself with the needle. Find these:
- Retractable needles – These needles withdraw themselves after use.
- Safety caps – Put them on the needle when they’re not being used.
- Color-coded hubs or wings – Makes it easy to find the needle size
There are safety features that keep both the patient and the healthcare worker from getting hurt or getting an infection.
6. Prices and Payment Terms
Though price is important, the least expensive choice isn’t always the best. Take a look:
- Cost per needle – Compare shipping costs and prices for buying in bulk
- Flexibility in payment – Some makers offer savings for large orders or credit terms
- Warranty and return policy – You won’t be stuck with broken products thanks to the warranty and return policy.
A manufacturer that strikes a good mix between price and quality and provides solid support is best.
7. Customer Service and Support
It can be very helpful to have good customer service. Find a manufacturer who:
- Quick to answer questions
- Offers expert help for questions about the product
- It helps with checking orders and transportation.
If a manufacturer cares about their customers, they are more likely to fix problems quickly.
How to Find a Good Winged Infusion Butterfly Needles Manufacturer
Now that you’ve got the basics down, here’s a chill step-by-step guide for you.
Step 1: Make a List of Potential Manufacturers
First, put together a list of manufacturers you can find online or through your industry buddies.
Here’s what we’ve got:
- Medical device expos
- B2B platforms
- Business directories
- Suggestions from other healthcare professionals
Cut down your list to about 5 to 10 manufacturers to look into more.
Step 2: Check out Certifications and Compliance
Make sure to look up each manufacturer for their ISO, CE, or FDA certifications. Could you get me the official docs to show we’re all good with compliance? Working with non-certified manufacturers can be a bit sketchy.
Step 3: Evaluate Product Quality
Can I get some product samples to try out?
- Needle sharpness and flexibility
- Tubing strength and kinking resistance
- Wing comfort and grip
If you can, test the samples in a controlled setting. Good samples show that the production standards are solid.
Your Trusted Needle Manufacturer Is Just a Click Away
Don’t wait—speak with our specialists and secure a supply you can rely on.
Contact Our TeamStep 4: Check Reviews and Reputation
Check out reviews from other clinics, hospitals, and distributors. Check out:
- Consistency in quality
- Getting things delivered on time
- Quick and helpful customer support
Positive long-term reviews really show that something is reliable.
Step 5: Check Out Safety and Innovation
Check with the manufacturer about what safety features they have. Make sure to see if they offer:
- Needles that can retract
- Safety caps
- Using colors to label the gauge
Companies that come up with new ideas usually make products that are safer and easier to use.
Step 6: Check Out Prices and Terms
Once you’ve checked out the quality, take a look at the prices and payment options. Just a heads up:
- Options for bulk pricing
- Shipping fees
- Policies for returning defective products
Find a good mix between cost and how reliable the product is—going for the cheapest option isn’t always the smartest move.
Step 7: Pick Your Manufacturer
So, just pick the manufacturer that checks all your boxes: quality, compliance, safety, price, and customer support. Having a solid relationship with a dependable supplier means you can count on a steady supply and not have to worry.
Tips for Long-Term Supplier Relationships
Once you’ve chosen a manufacturer, maintaining a strong partnership can be just as important as the initial selection.
- Communicate regularly – Keep them updated on your needs and feedback.
- Place consistent orders – Helps ensure priority in production schedules.
- Audit periodically – Check that their quality and compliance remain high.
- Provide feedback – Helps them improve and fosters a better partnership.
A strong relationship with your manufacturer can lead to better pricing, priority service, and early access to new products.
Common Mistakes to Avoid
Even experienced healthcare providers can make mistakes when selecting a needle manufacturer. Avoid these pitfalls:
- Focusing only on price – Cheaper needles may fail quality standards.
- Ignoring certifications – Non-compliant needles can cause legal and safety issues.
- Overlooking reviews – Negative experiences from other customers are red flags.
- Neglecting customer support – Lack of support can make problem-solving difficult.
By keeping these mistakes in mind, you can make a safer, smarter choice.
Conclusion
Selecting a dependable winged infusion butterfly needle manufacturer involves more than purchasing a product; it ensures patient safety, staff efficiency, and regulatory compliance. Seek manufacturers with solid certifications, established quality, innovative safety features, and reliable customer service. Research thoroughly, request samples, and establish a reliable, long-term relationship with your supplier.