+86-791-8686-1216


One of the most significant tools for getting reliable medical test results is the EDTA tubes. These little tubes that are sealed in a vacuum are very important for collecting blood and doing tests in the lab. But what are they, and why do so many people use them?
This articlel will tell you all you need to know about EDTA tubes, such as how they operate, what they are good for, and how they are used in medical research and diagnostics. This article will explain the basics of medical testing in simple words, whether you’re a healthcare worker, a lab technician, or simply interested in the subject.
What are EDTA Tube?
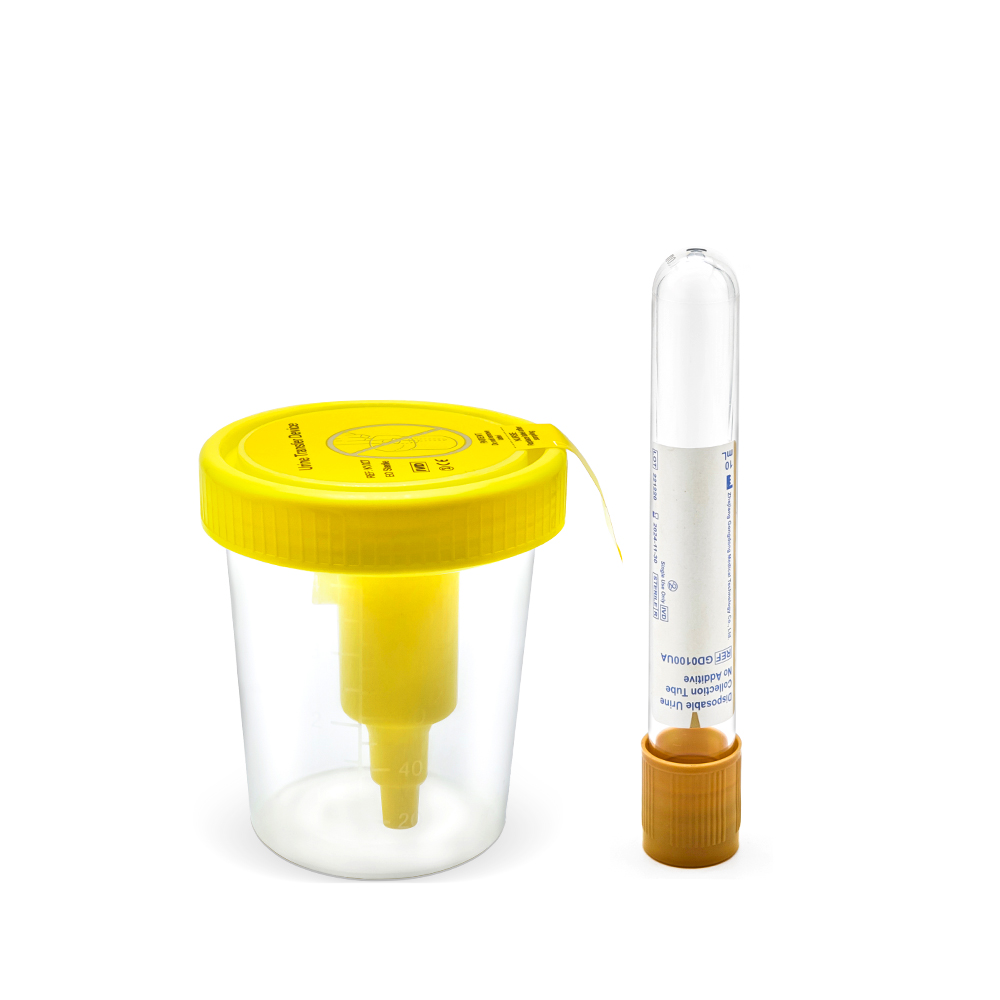
EDTA tubes are small, sterile containers used to collect and preserve blood samples for testing. They contain an anticoagulant called Ethylenediaminetetraacetic acid (EDTA), which prevents blood from clotting. This ensures that blood cells remain intact, allowing for accurate analysis.
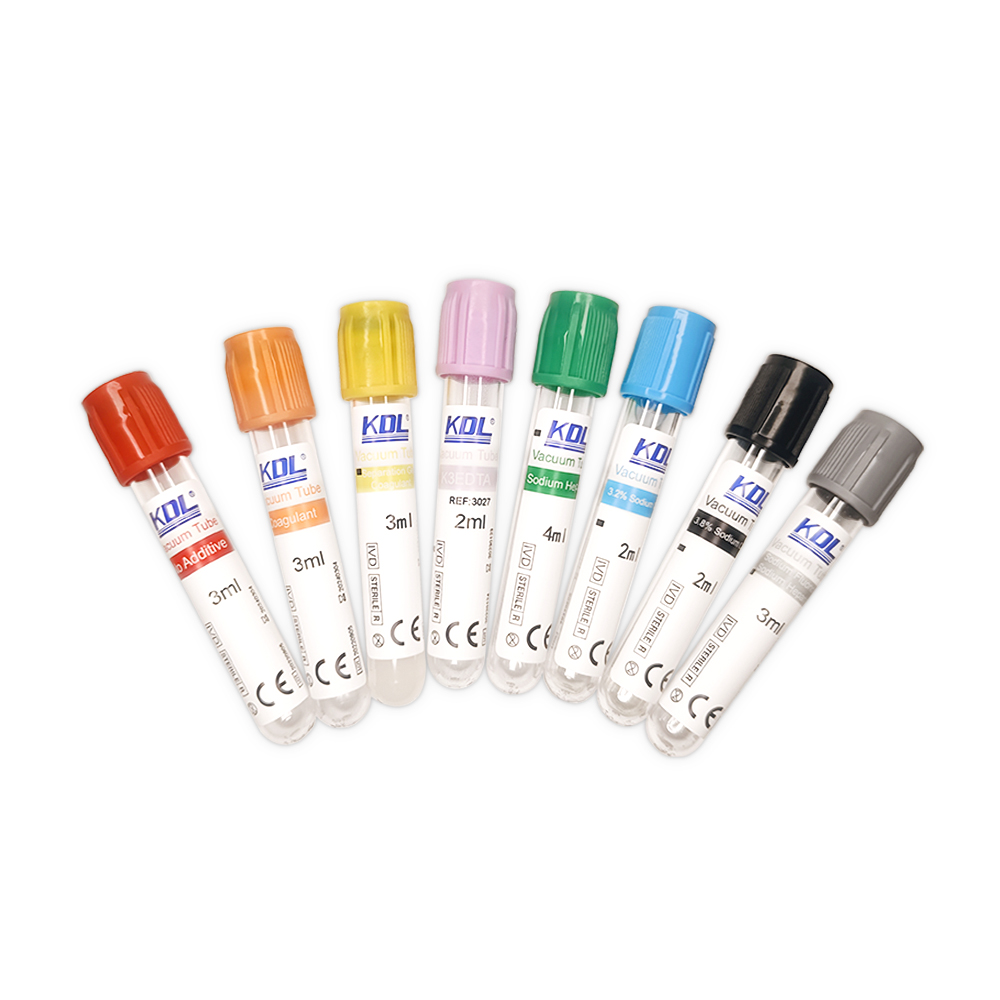
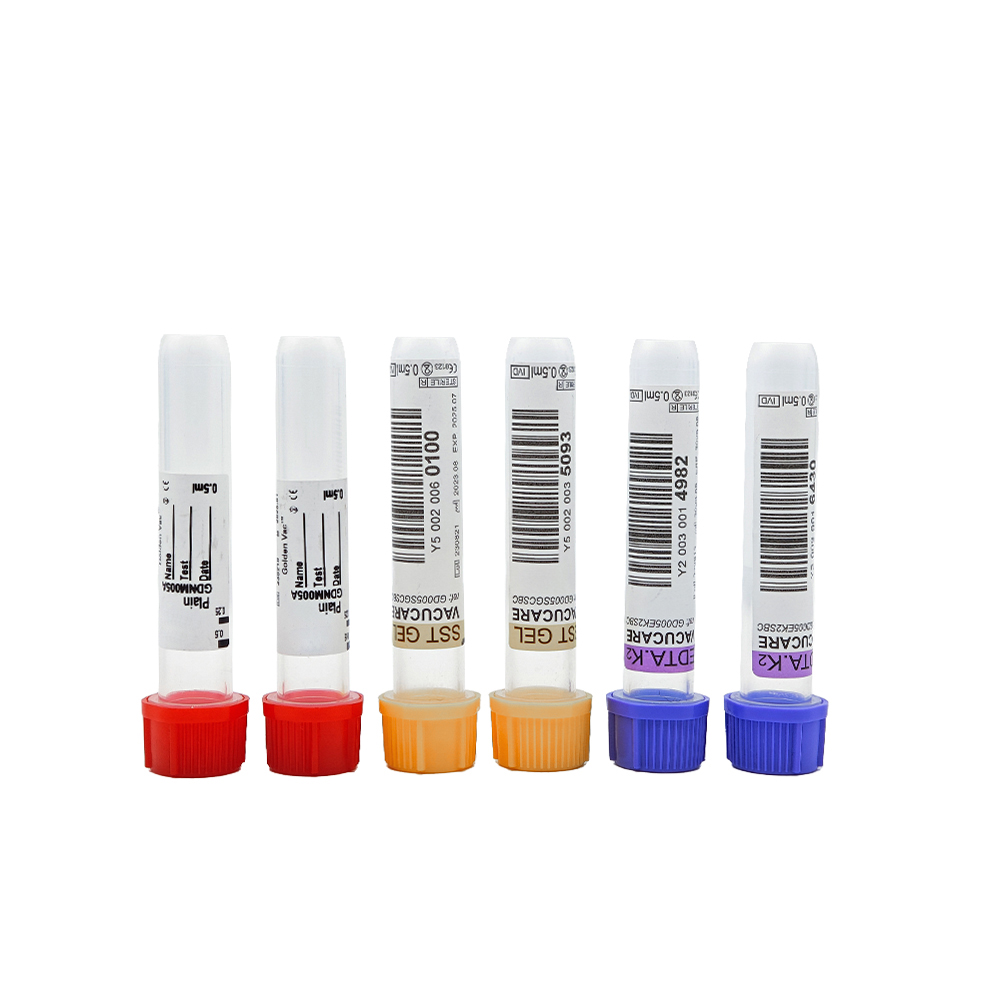
These tubes are easily recognizable by their lavender or pink tops, which indicate the presence of EDTA. They are commonly used in:
- Complete blood count (CBC) tests
- Blood typing
- Genetic testing
- Disease diagnosis
Because EDTA preserves blood in its natural state, it’s a preferred choice for many lab tests.
How EDTA Tubes Work
Let’s break down how EDTA tubes work in simple steps:
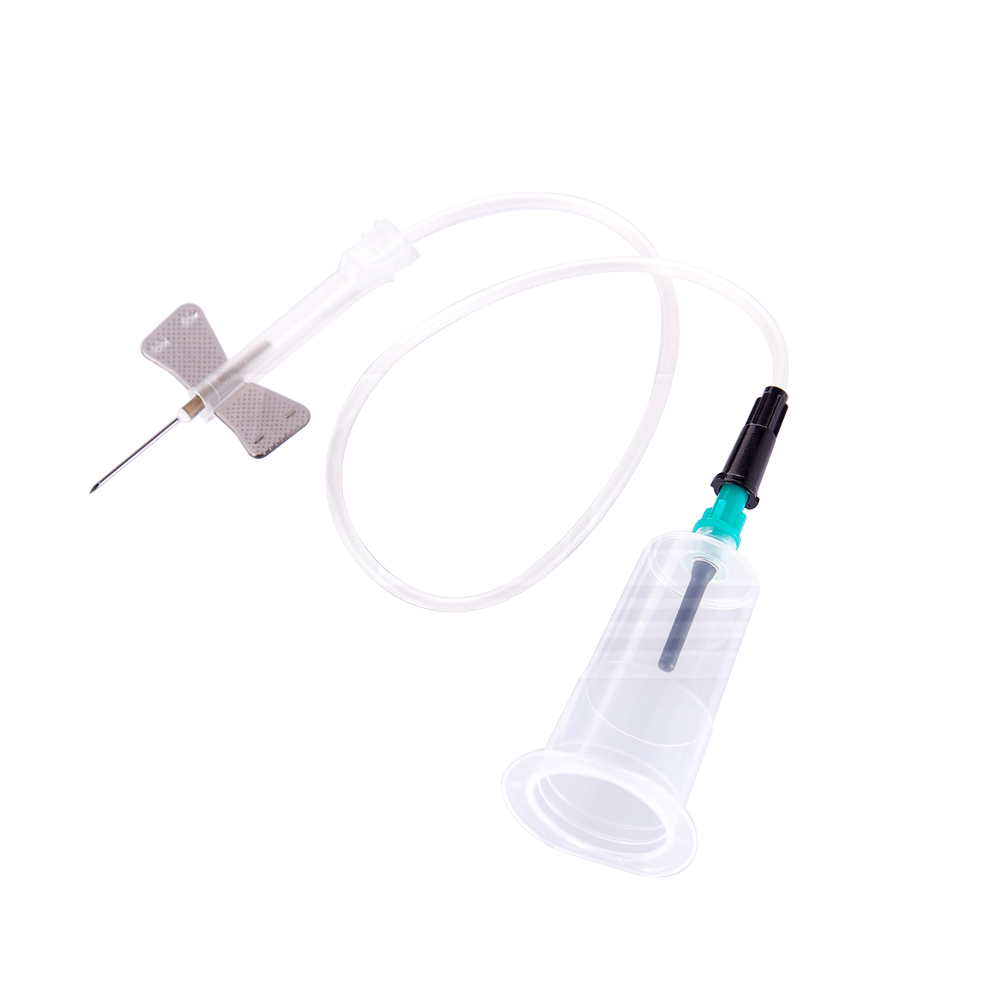
- Blood Collection: A healthcare provider draws blood using a needle and collects it directly into the EDTA tube.
- EDTA Action: As soon as the blood enters the tube, it mixes with the EDTA, which binds to the calcium ions.
- Prevents Clotting: Without calcium, clotting can’t happen, so the blood remains in its liquid form.
- Preservation: EDTA also helps preserve the integrity of blood cells, preventing them from breaking down or changing shape during storage or transport.
This stability allows labs to perform accurate measurements, especially when analyzing cell counts or genetic material. Unlike some other tubes, EDTA tube can maintain the blood sample’s quality for longer, which is especially helpful when samples need to be shipped or stored before testing.
Types of EDTA Tubes
1. K2 EDTA tubes
K2 EDTA tubes contain dipotassium EDTA, typically in a spray-dried form that coats the interior of the tube. These tubes are widely preferred in modern laboratories due to their ability to preserve blood cell integrity while minimizing sample dilution. They are commonly used for complete blood counts (CBC), hemoglobin A1c (HbA1c) testing, reticulocyte counts, and blood smear preparation. Because K2 EDTA does not significantly dilute the blood sample, it provides more accurate hematological results and is ideal for use with automated analyzers.
2. K3 EDTA tubes
K3 EDTA tubes contain tripotassium EDTA in liquid form. These were more commonly used in the past but are now less favored in clinical labs. The liquid additive slightly dilutes the blood sample, which can affect certain test parameters like hematocrit and mean corpuscular volume (MCV). While K3 EDTA tubes can still be found in some laboratories or for specific research purposes, they are generally considered less accurate for routine hematological testing due to their impact on sample integrity and cellular distortion.
The Specification of Different size of Vacuum EDTA Blood Collection Tube
| Volume/ml | Size/mm | Additive | Separator | Material |
| 0.5 | 13X75 | EDTA K2 | / | Polypropylene |
| 0.5 | 13X75 | EDTA K3 | / | Polypropylene |
| 0.5 | 10X45 | EDTA K2 | / | Polypropylene |
| 0.5 | 10X45 | EDTA K3 | / | Polypropylene |
Key Uses of EDTA Tubes
1. Hematology Tests
The most common use of EDTA tubes is in hematological testing. Because EDTA preserves cell morphology better than other anticoagulants, it is ideal for:
- Complete Blood Count (CBC)
- White Blood Cell (WBC) differential
- Red Blood Cell (RBC) indices
- Hemoglobin and Hematocrit measurements
- Platelet counts
2. Blood Film Preparation
Blood smears prepared for microscopic examination are often taken from EDTA-treated blood. This ensures:
- Uniform distribution of cells
- Preservation of cellular detail
- Accurate morphology for diagnosing infections, anemias, leukemias, and other conditions
3. Molecular Diagnostic Tests
EDTA tubes are commonly used for DNA and RNA extraction because the anticoagulant preserves nucleic acids. Applications include:
- PCR testing
- Genetic testing
- HIV viral load monitoring
- COVID-19-related viral RNA testing
Benefits of Using EDTA Tubes
So why do labs prefer EDTA tubes over other options? Here are some key EDTA tube benefits:
- Prevents Clotting Efficiently: Unlike other anticoagulants, EDTA doesn’t affect blood cell structure or counts.
- Preserves Cell Integrity: Blood cells maintain their shape and size, allowing for more accurate test results.
- Compatible with Sensitive Tests: EDTA is ideal for molecular diagnostics, including genetic testing.
- Longer Shelf Life: Blood in EDTA tubes can often be stored for hours or even days without losing accuracy — especially useful when transport is involved.
- Color-coded Simplicity: The purple top makes it easy for professionals to select the correct tube quickly and efficiently.
Overall, these advantages make EDTA tubes a go-to option in both routine and specialized medical testing.
Conclusion
EDTA tube play a crucial role in modern medical diagnostics and research by preserving blood samples for accurate testing. Whether for routine CBC tests, genetic studies, or transfusion medicine, EDTA tube remain an indispensable tool for healthcare professionals. Understanding their uses, benefits, and working mechanism helps ensure proper sample collection and diagnostic precision. By choosing the right EDTA tube and following correct handling procedures, labs can maintain sample integrity and deliver high-quality patient care.
If you’re looking for high-quality EDTA tube for blood collection, browse our catalog or get in touch for bulk pricing and specifications.